|
|
|
|
Add / Create an Individual Task
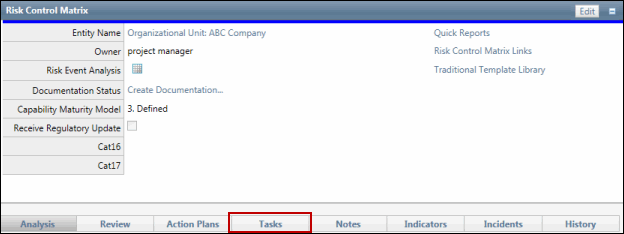
- Access the
 Task list.
 - Click Add.
Notes:
- The fields on the Task form may vary depending on the object you access it from. Various object information (e.g. organization, process, audit name, process owner name, etc.) will display based on the type of object the task is created for. Some of this information will be hyperlinks to the respective area in the Governance Portal.
- The task form is presented with a standard configuration that may be utilized as is. However, you can also configure the fields on the form to suit your own needs. See Configuration for detailed information on how to utilize the configuration functionality.
- You can customize all notification information including recipients, sender email, subject, body text and footer using notification templates. See Ad-Hoc Notifications for details.
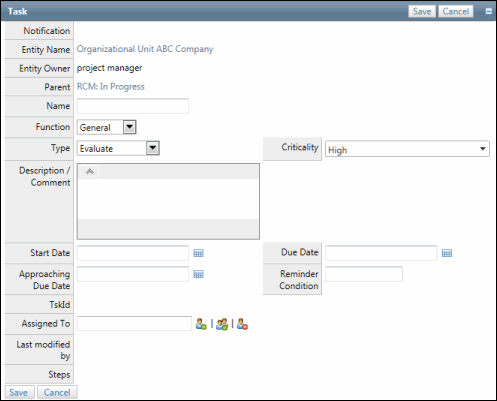
- Enter a Name of the task.
Note: This is a required field.
- Select a function from the Function drop-down list. This determines how tasks are categorized in the Action Items dashboard, as well as in the Action Items list in the left navigation pane.
- Review - schedules a review task for all objects except for tests
- Evaluate - schedules an evaluation task for all objects except for Tests and Document Groups
- Test - schedules a test task. This option is only available for Tests
Note: The available options are based on the object type (e.g. objective, risk, control, etc.) to which a task is linked.
- Select a Task Type from the Type drop-down list.
- Type a description in the Description text box.
- Assign the task by clicking
 Select User or
  Select User Group.
- Enter text that contains the name, email address or network ID of the user you wish to select and click Search or click Show All.
Note: A list of users containing, (not equaling), the entered text will display in the search results.
- Click the name of the user or click Select No User to indicate the user is not required.
- Enter text that contains the name, email address or network ID of the user you wish to select and click Search or click Show All.
- Select a criticality condition from the drop-down list.
- Start Date - Click Select to select a date from the calendar.
- Approaching Due Date - Click Select to select a date from the calendar.
- (Optional) Approaching Due Date Days - Enter a number of days before the due date to place the task in a separate column in the Action Items dashboard.
Note: Notifications are also generated when a task hits the approaching due date.
- Due Date - Click Select to select a date from the calendar.
- Due Date Days - Enter the number of days after the start date that the task is due.
Note: Notifications are generated after a task becomes overdue.
- Past Due Days - Enter a number of days to determine how often a reminder notification will be sent after the task is past due.
Note: For example, if "3" is entered, a reminder will be sent every day until the task is completed.
- Click Save.