|
|
|
|
Add a Project from the Project Scheduler
- Access the
 Project Scheduler.
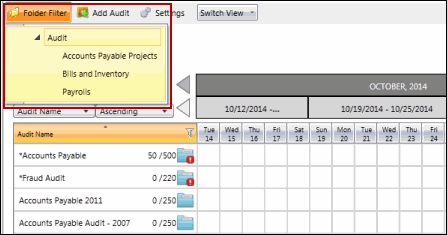
 - Select a project hierarchy folder from the Folder Filter drop-down list to add a project in a specific folder. You can also opt to add a project at the root level, without having to add project to a folder. Please note that you must have relevant project hierarchy folder permissions to add projects to a folder. See Manage Folder Permissions in the Project Hierarchy for more information on folder permissions. The Folder Filter drop-down list can also be used to filter the projects within a specific folder.
- Click
 Add Project from the navigation bar at the top of the screen.
 - Complete the Project form. By default the following fields are available.
- Project Name (required): Enter a unique project name (e.g. Q1 Accounts Payable, Benefits Review)
- Description: Enter the description of the project.
- Template Name: Select a template to be used for the project from the drop-down list to determine the initial project work program and flow of this project.
Notes:
- Project templates are created by the Administrator and contain the activities and associated work papers that should be completed during the project.
- The Protiviti Way is the default template.
- Start Date (required): Click
 Calendar to enter the project start date.
 - End Date (required): Click Calendar to enter the project end date.
- Project Status (required): Select the project status from the drop-down list.
- Planned Hours: Enter the hours planned for the project.
- Confidential: Select this checkbox to mark the project as confidential.
Note: When you make an project confidential, only users assigned to the project can view the project and all project related information (i.e. searches, reports, action items, tasks and event driven notifications). It is recommended that you assign team members to the project before marking it as confidential. For more information, see Assign Team Members and Plan Hours in the Project Scheduler.
- Click Add.

Note: Once you have created a new project, you can edit and add details by accessing the project via the Current Projects screen. See Edit a Scheduled Project Attributes for details.