|
|
|
|
Manage Assessment Folders
Folders are used to house and organize the Assessments. You are required to choose a folder by clicking the Folder list link in the Main tab during initial setup of an assessment.
Note: You can also manage folders from the Assessment Hierarchy tree. See Manage Assessment Folders from the Assessment Hierarchy for more information.
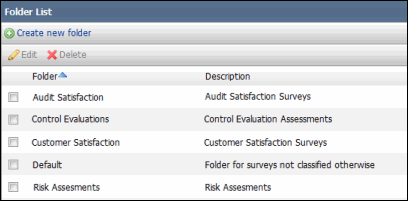
Add a Folder
- Click Create new folder.
- Add a Folder Name and Description.
- Click Save.
Edit a Folder
- Select the checkbox next to the folder and click Edit.
- Modify the Folder Name and/or Description, if necessary.
- Click Save.
Delete a Folder
Select the checkbox next to the folder and click Delete. The folder will be removed from the list.
Note: All assessments must be removed from the folder before deleting. You can change the folder for the Assessment from the Main tab of the Assessment Setup screen. The folders added through the Folder List link in the Main tab will automatically be added to the Assessment Hierarchy tree. Such folders will also display the default folders (Ad-hoc Assessments and Templates) under them, when expanded in the assessment hierarchy tree.